
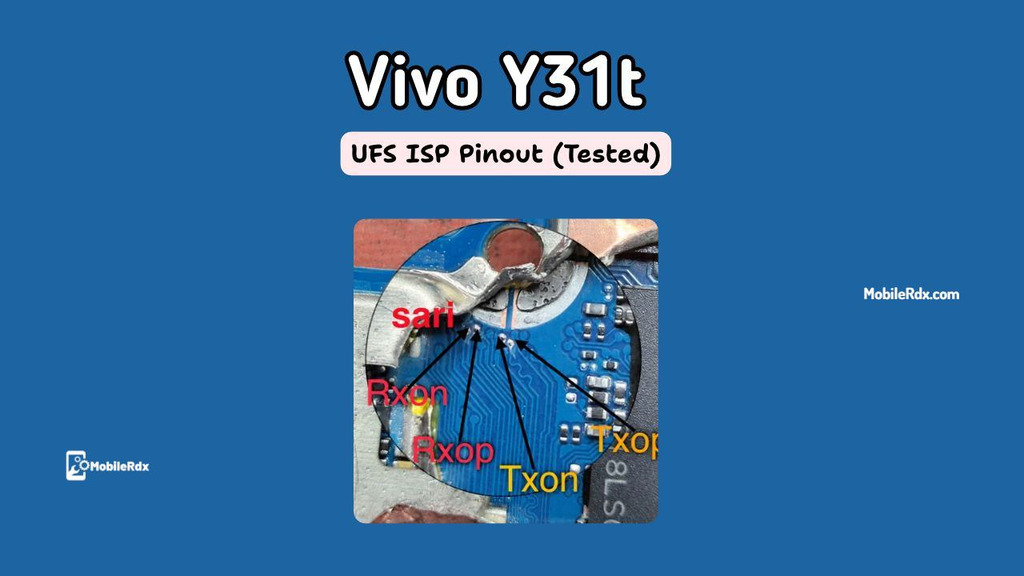
If you are searching for the working Vivo Y31t UFS ISP pinout, you are at the right place. The Vivo Y31t 5G runs on the Qualcomm SM4450 Snapdragon 4 platform with UFS storage. In this post, we have shared the tested ISP pinout points that work for restore the stock ROM, bypass FRP lock, remove MDM Lock, repair a Dead Boot, or clear user data directly through Flash64, UFI Box, or Easy JTAG.
In this post, you will find the Vivo Y31t ISP Pinout diagram, device information, UFS connection details, and important precautions for performing ISP operations.
What is ISP pinout?
ISP in system programming allows us to access the eMMC/UFS memory directly with the device still soldered to the PCB (printed circuit board) using a proper box/dongle, such as Flash64 UFI, Easy-JTAG, or Medusa.
Using correct ISP connections technicians can connect a device to a supported UFS programmer for storage detection, reading and writing as well as for troubleshooting operations.
Vivo Y31t ISP Pinout Image:
Carefully remove the back cover of Vivo Y31t by applying controlled heat to soften the adhesive. The ISP Pinout enables you to carefully boot into Flash Mode. So, follow the methods below to successfully boot to ISP mode.
Pinout Labels:
RXOP – Receive Out Positive
RXON – Receive Out Negative
TXOP – Transmit Out Positive
TXON – Transmit Out Negative
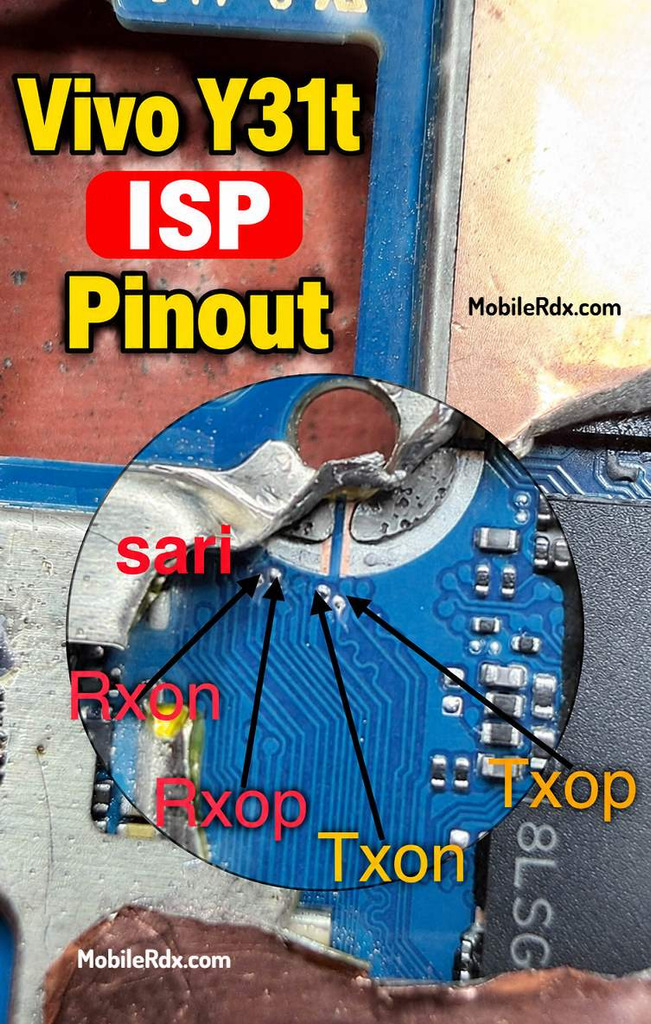
Tip: You can use a microscope or a 10x magnifier to identify the points correctly.
Required Tools for ISP Pinout:
- Make sure your table is set up with the right tools before jumping in:
- UFI Box, Flash64, or EasyJtag
- 0.1mm – 0.3mm jumper wire
- Fine tip soldering iron
- Isopropyl Cleaner (IPA 99%)
- Soldering flux
- Multimeter (for checking continuity)
How to Connect Vivo Y31t ISP to the UFS Box
- Remove the battery first—prevents voltage conflicts.
- Clean the board area with isopropyl alcohol.
- Solder jumper wires to CLK, TXOP, TXON, RXOP and RXON points.
- Connect the wires to your UFS/EMMC tool following its pinout.
- Check every wire with a multimeter for shorts.
- Connect ISP to UFI or Easy JTAG,
- In the UFI or Easy JTAG software:
- Click Identify UFS
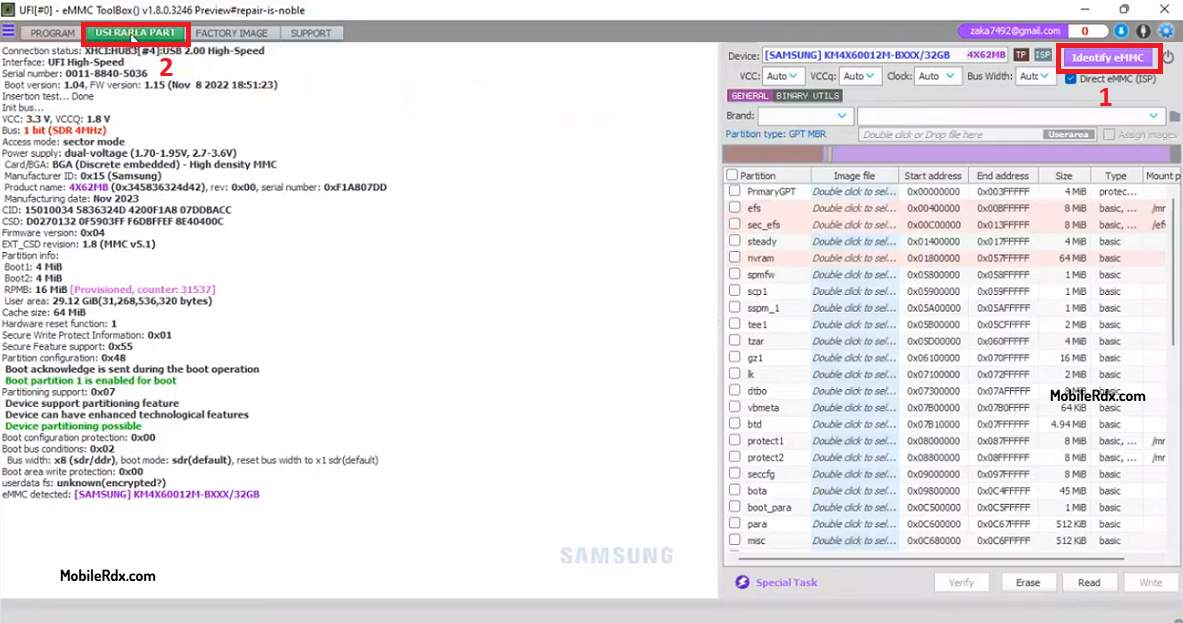
- FRP Bypass: Go to: User Partition – Special Task – Reset FRP
- Fix Dead Boot: Select the firmware & click flash.
- Done.
If the connection is right, you will see the UFS chip info appear in the tool window.